There’s more technique to being a functioning adult than anyone ever told us. Why isn’t there a manual for life? Chapter 1: How to Split the Bill When Some People Ordered Cocktails. Chapter 2: How To Find A Job That Won’t Give You The Sunday Scaries. Chapter 3: Politics. But luckily enough, some things in life are simple - at least, they will be when you’ve read this. Here are our golden rules to get the best natural bronze using self tan products in your very own bathroom.

HOW TO PREP FOR A PERFECT SELF TAN
1. Time your hair removal properly. Defo not after (please, why would anyone wax after a tan, it makes us so sad!) But no less than 24 hours before either.
2. Keep skin squeaky clean on the day. No moisturiser, deodorant, perfume. Deo, in particular, has a tendency to go green - eek. Not the bronze we were going for. We know the drill when we get a professional tan, so treat your at home self tan sesh the same. If you’re a perfume addict though, you could always spritz it into your hair.
3. If you’re showering just before (washing off that deo, glad you’re listening) blast a bit of cold water at the end to tighten pores. This stops your pores from getting blocked by tan with that polka dot look we all dread.
4. Beware the Danger Zones. We’re talking wrists, hands, nails, elbows, knees and ankles. If you’re a blonde, add hairline to the mix. Cover them with an aloe vera moisturiser before tanning. Then an hour or two after you’ve applied your tan, rub a small amount of moisturiser in those areas to blend the tan out too.

HOW TO APPLY YOUR SELF TAN
5. If you see fake tan building up too much in one area, simply blend out with the application glove or buff away with a clean, dry towel if you’ve really overdone it. If you do get an unlucky splash of tan on your hands, rinse with micellar water. It’ll cut through the tan and clean it properly.
6. To spread your tan evenly on your application glove, pump it onto the bottom half or heel of your hand first. Then fold your fingers over so the tan coats the glove evenly. See, you’re a step ahead already.
7. Whip that mirror out. Not gonna lie, any real friend should be ready and willing to tan your back at any given moment. But in case they’re busy, it’s easier to keep an eye on any bits you miss in front of a mirror. Backs of the knees and under your arms are particularly mischievous spots.

THE BEST TAN PRODUCTS YOU’LL NEED
8. Exfoliating is absolutely key for an even self tan that’ll last. But don’t use an exfoliator that contains oil. This coats skin with a protective film that stops the tan from doing its thing. Try our Exfoliating Mitt instead. It’s got two sides, one for a gentle buff or a heavier scrub for more stubborn skin. Or, for an even easier fix, our Tan Reverser simply melts old self tan or dry, sunburnt skin away. Exfoliant beads help break up the skin while natural aloe vera, coconut oil and kakadu plum leave skin looking replenished, rejuvenated and totally tan free.
9. No glove, no love. If you haven’t tanned with our Application Glove yet, you don’t know what you’re missing. First, it protects your hands. Nothing screams fake tan like deep brown knuckles. Touch the thick, velvety material and you’ll get why it gives the smoothest tan application around. The thumb shape is also a winner, cos duh...we have thumbs. This’ll keep you from punching a hole through a traditional oval mitt.
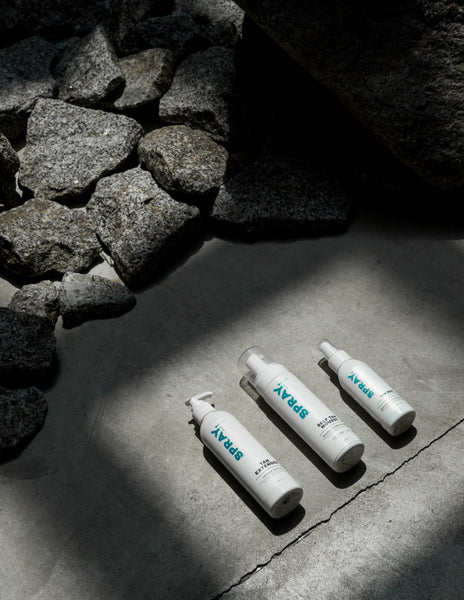
10. If this is still sounding too daunting, why not start off with a gradual self tan product like our Tan Extender? Created to prolong your professional spray tan, it’s also boosted with bronzers that’ll gradually build up a natural looking tan.
There! You're bronzed, beautiful and it was so simple, you did it enough to be done while watching Netflix. Life admin - completed.


